DCT System Settings or Utilities
The DCT System Settings / Utilities page is reached by navigating to "Settings" -> "System Settings / Utilities". It contains some settings pages and other pages for items that are related to the screen directly or multiple modules. This document describes each sub-page.
Software Update
Display Settings
This screen is used to change the screen brightness. Note that higher brightness creates more heat.
Go to Page
This screen is used to jump to a specific page by the page number. There are a few debug pages that are only accessed by page number.
Engine Quick Setup
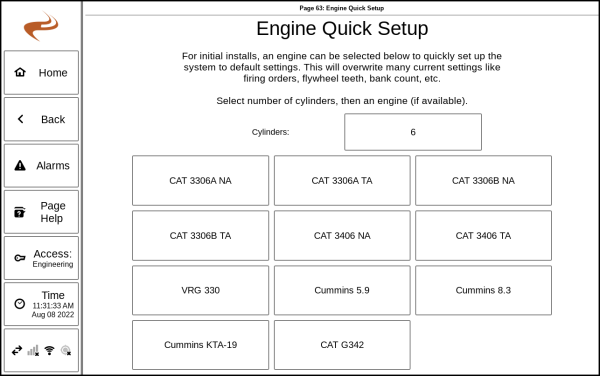
This screen is used to pre-fill many settings for the AFR, Speed controller, and Ignition with default settings for a particular engine. This will overwrite many settings for those modules, so it is intended to be used only on a new install.
To use, select the number of cylinders at the top of the screen, then select the engine in the list. The system will overwrite with default settings for that engine to the AFR, Ignition, and Speed controller.
Compressor Quick Setup
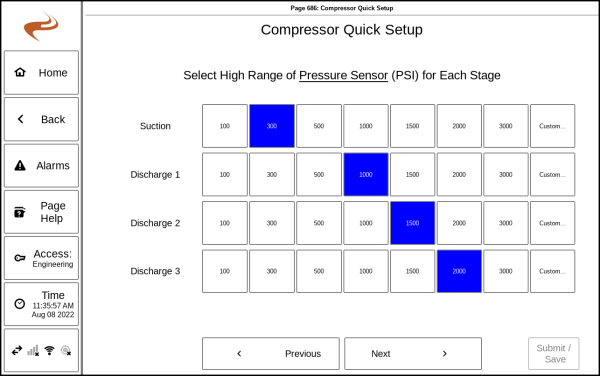
This wizard guides through the process of initially setting up the Brain module. This can be used on install to save time in entering settings.
- Slide 1: Select the number of stages and cylinders for the compressor
- Slide 2: Select the high pressure sensor range for each process stage
- Slide 3: Select which other sensors are used
- Slide 4: Review and save if needed
The compressor quick setup will overwrite many Brain (Annunciator) settings with the new sensor settings. This is intended to be used only once on initial install.
Engine Timers
Modbus Setup
See DCT Modbus
Ethernet Setup
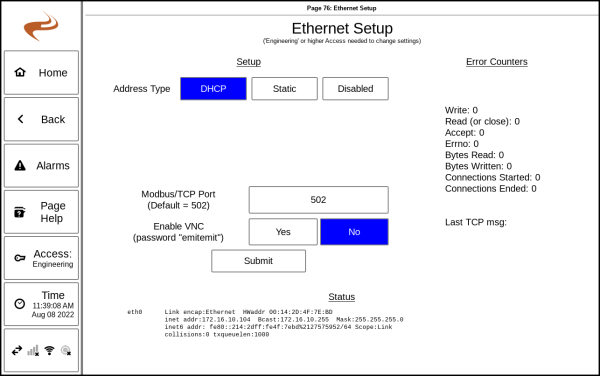
The Ethernet setup page is used to setup the IP address settings of the Ethernet port. Select DHCP to automatically get an address, or Static to manually specify an address. The Modbus TCP port number can also be specified on this page.
After changing an address, it is a good idea to wait about 1 minute then cycle power on the screen to make sure that the new settings are used properly.
The "Enable VNC" setting can be used to turn on VNC (similar to remote desktop) for the screen, so that a site level computer can view the screen.
Note: If using the common 192.168.0.xxx subnet, be sure to change the WiFi IP address, mentioned below.
Change Passwords
This page can be used to change the ‘Setup’ password. Starting with v1.63.15, it can also be used to change the 'Engineering' password. The current engineering password must be entered to view this page. If the engineering password is changed from the default value, it will no longer change when the software version changes. If the engineering password is set to the default value, it will change when the software version changes.
Telematics Settings
See DCT Telematics Setup and Screens#Setup
Format USB Drive
Wifi Setup
The WiFi setup is used to change the IP address used by the WiFi port, which is needed if you need to set the wired ethernet port to 192.168.0.xxx since by default the Wifi is at 192.168.0.1 and the addresses would collide. In this case, simply change the WiFi IP to some other subnet, for example: 192.168.4.1 .
This page can also be used to turn off wifi for the screen.
ASC Setup
This page is used to setup the link between the screen and the Ariel Smart Compressor.


